
diy closet plans pdf
Discover the convenience of DIY closet plans with PDF guides‚ offering detailed instructions for custom closet systems. Perfect for budget-friendly projects‚ these plans help you maximize space efficiently.
1.1 Benefits of DIY Closet Organization
Transform your space with DIY closet organization‚ offering affordability and personalization. Maximize storage efficiently‚ reduce clutter‚ and create a tailored system that fits your needs and style perfectly.
1.2 Importance of Using PDF Plans
PDF plans are essential for DIY closet projects‚ providing clear‚ downloadable instructions. They offer precise measurements‚ step-by-step guides‚ and material lists‚ ensuring accuracy and efficiency. Accessible anytime‚ PDFs save time and reduce errors‚ making your DIY journey smoother and more cost-effective.

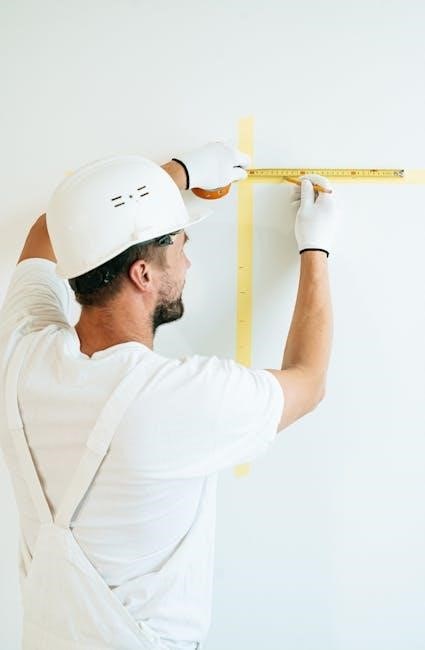
Measuring Your Closet Space
Accurate measurements are crucial for a successful DIY closet project. Measure width‚ height‚ and depth to ensure your design fits perfectly‚ maximizing storage and functionality.
2.1 How to Accurately Measure Your Closet Dimensions
Accurate measurements are essential for a successful DIY closet project. Start by measuring the width‚ height‚ and depth of your closet using a tape measure. Note any obstructions like electrical outlets or vents. Record these dimensions to ensure your design fits seamlessly. Measure door openings and hallway clearances to accommodate door swing and accessibility. Consider the placement of shelves and rods based on your storage needs. Double-check all measurements to avoid errors during construction. A precise layout will help you maximize space and create a functional‚ personalized closet organization system tailored to your specific requirements.
2.2 Assessing Your Storage Needs
Evaluating your storage needs is crucial for designing a functional closet. Start by categorizing your belongings into groups‚ such as clothing‚ shoes‚ and accessories. Consider how often you use each item and prioritize space accordingly. Think about the types of storage solutions you need‚ like shelves‚ drawers‚ or hanging rods. Measure your items to determine the required dimensions for each storage component. Reflect on your lifestyle and future needs to ensure your closet remains practical over time. A well-planned storage system will help you stay organized and make the most of your space. This step ensures your DIY closet meets your specific requirements.

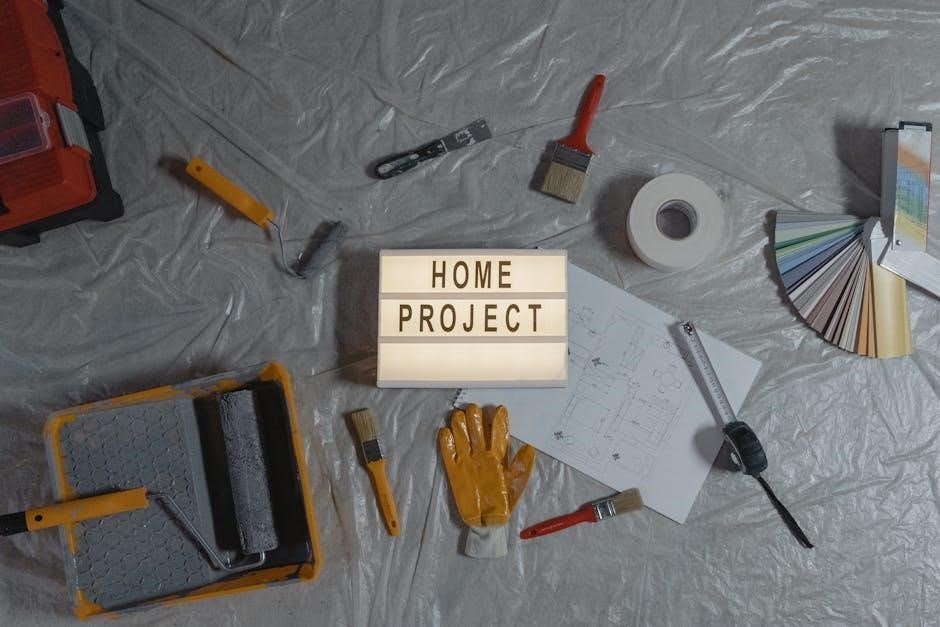
Choosing the Right Materials
Select durable materials like 2x4s for frames and 1x4s for shelves. Use plywood or MDF for smooth surfaces. Ensure screws‚ brackets‚ and finishes match your design for a polished look.
3.1 Essential Lumber and Hardware for Closet Construction
Start with sturdy lumber like 2x4s for the frame and 1x4s for shelves. Plywood or MDF boards are ideal for smooth surfaces. Use screws‚ brackets‚ and bolts for secure connections. Add finishes like paint or stain for a polished look. Ensure all hardware matches your design. Proper materials ensure durability and functionality.
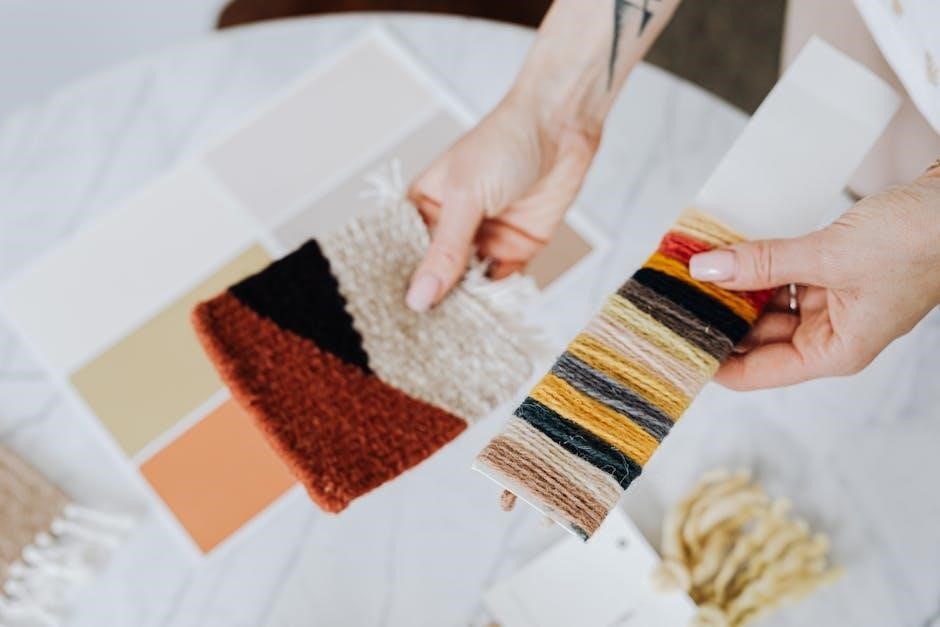
3.2 Selecting the Perfect Finishes and Accessories
Choose finishes that match your space‚ such as paint‚ stain‚ or varnish for a polished look. Select hardware like knobs or handles that complement your design. Add lighting for ambiance and functionality. Incorporate accessories like drawer dividers or shoe racks to enhance organization. Ensure all elements align with your closet’s style and purpose. Accessories can elevate functionality and aesthetics‚ making your DIY project truly personalized and user-friendly.

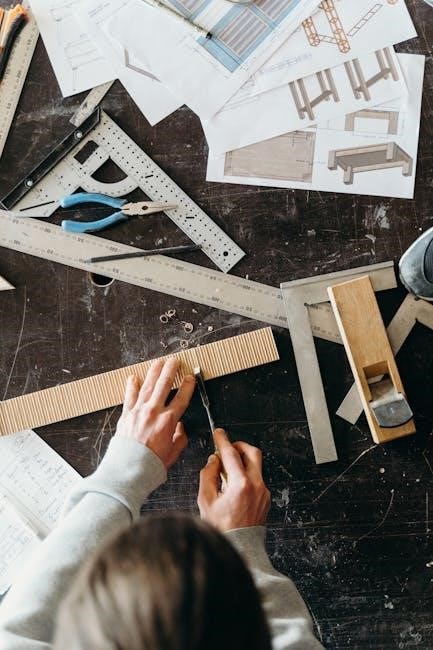
Tools You’ll Need
Gather essential tools like a circular saw‚ drill‚ and Kreg jig for precise cuts and joints. Don’t forget sandpaper‚ a tape measure‚ and safety gear like gloves.
4.1 Essential Power Tools for Closet Building

Start your DIY closet project with essential power tools like a circular saw for cutting lumber and plywood. A drill is crucial for screwing pieces together‚ while an impact driver ensures secure fastening. Don’t forget a Kreg jig for creating precise pocket holes‚ which are vital for sturdy joints. Sanding is made easier with an orbital sander‚ and a miter saw helps achieve clean‚ angled cuts. These tools are indispensable for building a professional-looking closet system and ensure your project is both efficient and durable. Always follow safety guidelines when operating power tools.
4.2 Hand Tools and Safety Equipment
Essential hand tools for closet building include a tape measure‚ hammer‚ level‚ screwdrivers‚ wrenches‚ and a utility knife. Safety equipment like safety glasses and work gloves is vital to protect yourself while cutting or drilling. A dust mask is recommended when sawing wood to avoid inhaling particles. Additionally‚ a work light can provide better visibility in dimly lit workspaces. Always keep these tools and safety gear within reach to ensure a smooth and safe DIY closet-building experience. Proper preparation and safety practices are key to achieving professional-looking results.

Step-by-Step Construction Guide
Begin by measuring and cutting lumber according to your PDF plans. Assemble the frame using a drill and screws‚ ensuring alignment with a level. Attach shelves and rods‚ securing tightly for stability. Sand and finish before installing doors. Follow the guide for precise cuts and efficient assembly. Achieve a professional look with careful attention to detail and proper tool use. This step-by-step approach ensures a sturdy‚ customizable closet tailored to your space and needs. Safety and precision are key to a successful project. Use a circular saw for clean cuts and a Kreg jig for strong joints. Complete the project with confidence and enjoy your newly organized closet. Proper planning and execution lead to a flawless final result. A well-organized closet enhances your home’s functionality and aesthetic appeal. DIY closet plans offer a cost-effective solution to maximize storage and style. Transform your space with ease and creativity. With the right tools and instructions‚ you can create a custom closet that meets all your needs. This guide provides everything required to build a beautiful and functional closet. Start your project today and enjoy the benefits of a well-designed storage system. Detailed steps ensure success‚ even for beginners. Follow the PDF plans carefully for a professional finish. Your dream closet is just a few steps away. Create a space that reflects your style and enhances your daily routine. DIY closet plans make it easy to achieve your organizational goals. Take control of your closet’s design and functionality with these comprehensive guides. Build a closet that works perfectly for you. Transform cluttered spaces into serene‚ organized areas. Your satisfaction is guaranteed with these proven DIY plans. Start building your ideal closet today and enjoy the benefits of a well-organized home. This guide is your key to a custom closet that fits your lifestyle. Follow the steps and enjoy your new space. With DIY closet plans‚ you can create a storage system that is both stylish and functional. Your closet will become a reflection of your personal style. Achieve your organizational goals with these easy-to-follow instructions. Building your own closet has never been easier or more rewarding. Take the first step toward a more organized life with these step-by-step plans. Your new closet awaits!
5.1 Building the Closet Frame
Start by constructing the closet frame using 2×4 lumber for durability. Cut the wood according to your PDF plans and assemble the structure using screws and a drill. Ensure the frame is square and level for stability. Attach the sides and top securely‚ sanding rough edges for a smooth finish. Use clamps to hold pieces in place while securing them. This sturdy base will support shelves and other components. Proper alignment and tightening are crucial for a stable frame. Follow the PDF guide for precise measurements and assembly instructions to achieve professional results.

5.2 Installing Shelves and Storage Solutions
Begin by measuring and cutting plywood or MDF for shelves‚ ensuring they fit your closet dimensions. Use a circular saw for precise cuts. Attach shelves to the frame using brackets or screws‚ ensuring level alignment. Install drawer systems or baskets for additional storage. Sand all surfaces for a smooth finish. Follow your PDF plans for spacing and layout. Secure shelves firmly to prevent sagging. Add dividers or bins for organization. Double-check all measurements before final installation. This step transforms your frame into a functional storage space tailored to your needs. Proper installation ensures durability and maximizes closet efficiency.
5.3 Adding Doors and Final Touches
Attach doors to your closet frame using hinges and handles‚ ensuring proper alignment for smooth operation. Install door frames or sliding systems as per your PDF plans. Sand and paint or stain the doors to match your design. Add finishing trim around edges for a polished look. Secure any hardware tightly. For sliding doors‚ ensure tracks are level and functional. Apply a clear coat to protect the finish. Double-check all components for stability and appearance. Final touches include installing handles‚ adding decorative elements‚ or incorporating soft-close mechanisms. This step completes your DIY closet project‚ making it both functional and visually appealing. Ensure all elements align with your original plans for a seamless finish.
Customization Ideas
Customize your closet to fit your unique style and needs‚ ensuring maximum efficiency and organization with creative storage solutions and design elements.
6.1 Personalizing Your Closet Design
Personalizing your closet design allows you to tailor the space to your unique style and needs. Incorporate adjustable shelves‚ drawers‚ or hanging rods to maximize functionality. Add decorative finishes like paint‚ trim‚ or hardware to enhance aesthetics. DIY closet plans often include customizable options‚ enabling you to choose materials and features that align with your preferences. Whether you prefer modern minimalism or traditional elegance‚ personalization ensures your closet reflects your lifestyle and complements your home decor. This flexibility makes DIY projects ideal for creating a space that is both functional and visually appealing.
6.2 Incorporating Additional Storage Features
Incorporate additional storage features to enhance your closet’s functionality. Add shelves‚ drawers‚ or shoe racks to keep items organized. Use baskets or bins for accessories and linens. Double rods maximize vertical space‚ while slide-out compartments provide easy access. Consider installing hooks for belts or bags and a pegboard for hanging organizers. These features ensure every inch of your closet is utilized efficiently. By tailoring storage solutions to your needs‚ you create a space that is both practical and visually appealing‚ making your closet a true reflection of your lifestyle and preferences.