
aprilaire 500a installation manual
This manual guides homeowners and technicians through installing the Aprilaire 500A humidifier‚ ensuring proper setup and integration with HVAC systems for optimal performance and humidity control.
Overview of the Aprilaire 500A Humidifier
The Aprilaire 500A is a high-efficiency‚ automatic humidifier designed for whole-house use‚ delivering precise humidity control based on outdoor temperatures. It utilizes evaporative technology to distribute moisture through the home’s ductwork‚ eliminating dry air discomfort. The unit features an outdoor temperature sensor‚ which adjusts humidity levels accordingly‚ ensuring optimal indoor air quality. Its compact design and quiet operation make it suitable for various home sizes. The 500A is known for its low maintenance requirements and compatibility with most HVAC systems‚ making it a popular choice for homeowners seeking reliable humidity management.
Key Features and Benefits of the Aprilaire 500A
The Aprilaire 500A offers advanced humidity control with its automatic operation‚ adjusting moisture levels based on outdoor temperatures for optimal comfort. It features a built-in bypass damper and evaporative technology‚ ensuring efficient moisture distribution. The unit is designed for low maintenance‚ with a straightforward cleaning process and durable construction. Its compact size allows for flexible installation in various spaces. Additionally‚ the 500A promotes better indoor air quality‚ reducing static electricity and preserving wood furnishings. Its compatibility with most HVAC systems and quiet operation make it a reliable choice for whole-house humidity management‚ enhancing overall home comfort and health.

Pre-Installation Requirements
Ensure proper space‚ tools‚ and materials are available before installing the Aprilaire 500A. Confirm compatibility with your HVAC system and local building codes for a safe setup.
Tools and Materials Needed for Installation
To install the Aprilaire 500A‚ gather essential tools like a screwdriver‚ pliers‚ and wire connectors. Materials include a 6-inch duct‚ 4-inch flex duct‚ and water tubing. Ensure all components are compatible with your system for a seamless setup and to prevent issues during operation. Proper preparation of these items will facilitate a smooth installation process and ensure the humidifier functions efficiently. Make sure to refer to the manual for any specific requirements or recommendations tailored to your HVAC system. Having everything ready beforehand saves time and minimizes potential complications.
Understanding the Installation Location and Space Requirements
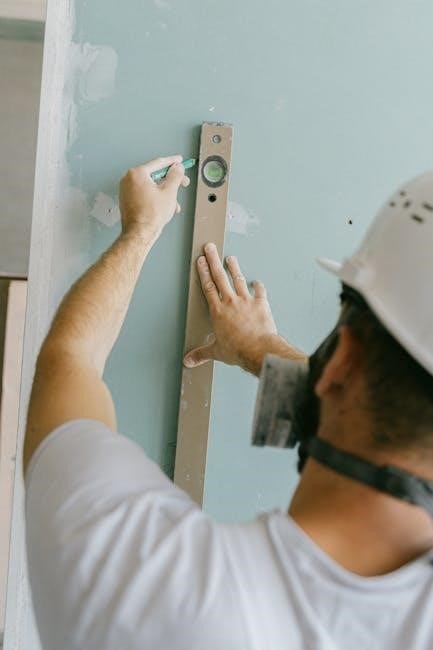
Choosing the right location for the Aprilaire 500A is crucial for optimal performance. Ideally‚ it should be installed near the furnace to minimize ductwork and ensure proper integration with your HVAC system. The humidifier requires adequate space for maintenance and airflow‚ typically needing at least 12 inches of clearance on all sides. It should be mounted in an area with consistent temperatures‚ avoiding direct sunlight or extreme cold. Ensure the location allows easy access to the water supply and drainage system. Avoid installing in areas prone to freezing or high humidity‚ as this can damage the unit. Proper placement ensures efficient operation and reduces the risk of future issues. Always follow the manual’s guidelines for specific spatial requirements to guarantee a successful installation.
Step-by-Step Installation Process
This section provides a detailed guide to installing the Aprilaire 500A‚ covering wiring‚ mounting‚ and component connections‚ ensuring a smooth and accurate setup process for optimal performance.
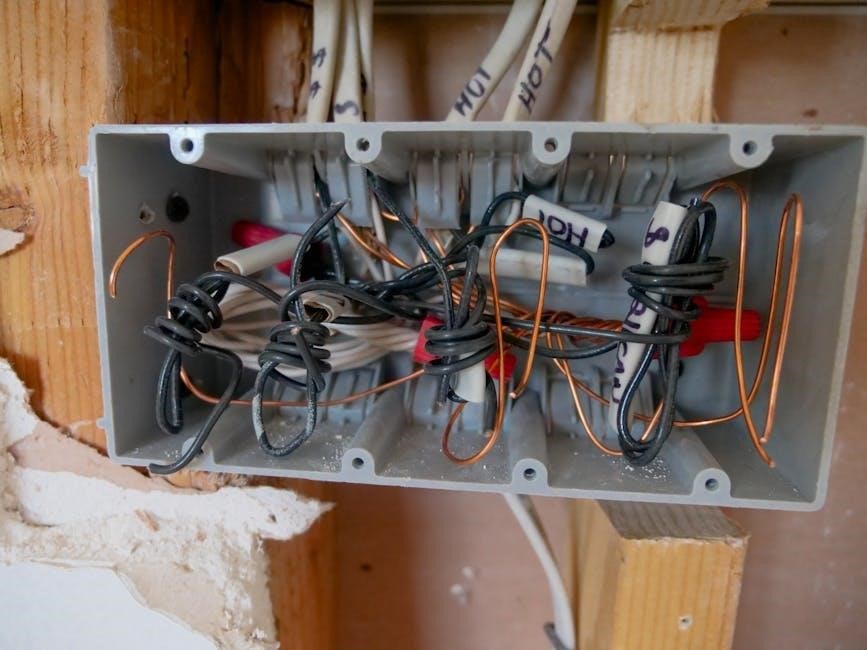
Wiring the Aprilaire 500A Humidifier
Wiring the Aprilaire 500A involves connecting the humidifier to your HVAC system and thermostat. Locate the terminal connections on both the humidifier and furnace control board. Connect the yellow wires from the humidifier to the appropriate terminals for the outdoor temperature sensor. Ensure the 24VAC power supply is correctly wired to the humidifier’s terminals. Refer to the wiring diagram in the manual to identify the correct connections. Test the wiring by turning on the HVAC system and verifying that the humidifier activates when humidity levels drop. Proper wiring ensures the humidifier operates efficiently and responds to outdoor temperature changes for optimal performance.
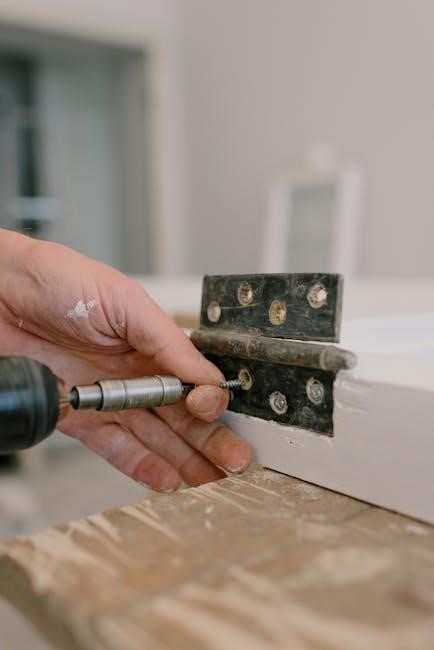
Mounting the Humidifier and Connecting Components
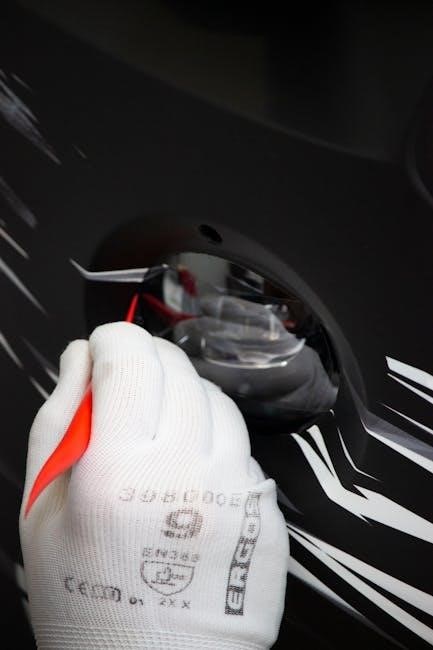
Mount the Aprilaire 500A humidifier on a wall or furnace‚ ensuring it is level and secure. Attach the mounting bracket to the chosen surface and place the humidifier onto it. Connect the water supply line to the humidifier’s inlet and secure it tightly. Attach the drain hose to the humidifier’s outlet and direct it to a suitable drain location. Connect the outdoor temperature sensor to the humidifier‚ ensuring it is properly seated and aligned. Tighten all connections to prevent leaks. Double-check the alignment of the humidifier and its components before finalizing the installation. Proper mounting and component connections are essential for efficient operation and optimal humidity control in your home.
Connecting the Outdoor Temperature Sensor

Mount the outdoor temperature sensor on an exterior wall‚ away from direct sunlight and moisture. Connect the sensor’s wiring to the Aprilaire 500A humidifier’s control board‚ ensuring correct polarity. Secure the sensor firmly to prevent movement. Route the wires neatly‚ avoiding interference with other HVAC components. Use weatherproof connectors to protect the connections from outdoor elements. Test the sensor by observing the humidifier’s response to temperature changes. Proper installation ensures accurate humidity control based on outdoor conditions‚ optimizing system performance and indoor air quality.
Post-Installation Setup and Configuration
Set the humidistat to your desired humidity level. Adjust settings based on outdoor temperature readings from the sensor. Test the system to ensure proper operation and accuracy.
Configuring the Humidifier Settings for Optimal Performance
To ensure the Aprilaire 500A operates efficiently‚ set the humidistat to your preferred humidity level‚ typically between 30-50%. Adjust the outdoor temperature sensor sensitivity to match your climate. Enable the automatic mode to let the system regulate humidity based on outdoor conditions. Set the fan operation to “continuous” or “auto” depending on your furnace setup. Test the system by raising the humidity level and verifying moisture output. For seasonal adjustments‚ lower the humidity in summer and raise it in winter. Refer to the manual for specific dial settings. Annual checks and adjustments are recommended to maintain optimal performance and comfort.
Testing the Humidifier After Installation
After installation‚ power up the system and check for leaks in water connections. Ensure the humidifier activates when the furnace runs. Increase the humidistat setting to test operation and observe water flow and misting. Verify the outdoor temperature sensor is providing accurate readings to the control board. Check that the humidifier cycles on and off correctly with temperature changes. Test the automatic mode by simulating varying outdoor temperatures. Ensure the system shuts off when the desired humidity level is reached. Inspect the drain and water supply lines for proper flow. Monitor humidity levels in your home to confirm the system is functioning as expected. Refer to the manual for specific testing procedures tailored to your model.
Maintenance and Troubleshooting
Regularly clean and replace the humidifier filter to ensure efficiency. Inspect water panels and drain lines for blockages. Address wiring issues with the outdoor temperature sensor promptly for accurate humidity control and proper system operation.
Regular Maintenance Tips for the Aprilaire 500A
To maintain optimal performance of the Aprilaire 500A‚ clean or replace the water panel annually. Check and replace the humidifier filter every 1-2 months during peak usage. Inspect the outdoor temperature sensor regularly to ensure accurate readings and proper system operation. Additionally‚ ensure the drain line is clear of blockages to prevent water overflow issues. Regularly inspect wiring connections‚ especially the yellow wires connected to the outdoor sensor‚ to avoid common issues like faulty temperature sensing. By following these maintenance tips‚ you can extend the lifespan of your humidifier and maintain healthy indoor humidity levels throughout the year.
Troubleshooting Common Issues with the Aprilaire 500A
If the Aprilaire 500A isn’t turning on‚ check the wiring connections‚ especially the yellow wires to the outdoor sensor. Ensure the humidifier is properly configured with the furnace control board. Water leaks may indicate a clogged drain line or improper installation of the water panel. Low humidity levels could result from a faulty temperature sensor or incorrect settings. If the unit overhumidifies‚ inspect the outdoor sensor for accuracy and adjust settings accordingly. Regularly cleaning the water panel and replacing the filter can prevent many issues. Always refer to the installation manual for specific troubleshooting steps and ensure all components are correctly connected and maintained for optimal performance.